How to Clear Out the Deleted Files on iPhone
---A profound tool called PanFone iOS Eraser wants to keep storage threats to a minimum when you're working on your phone.
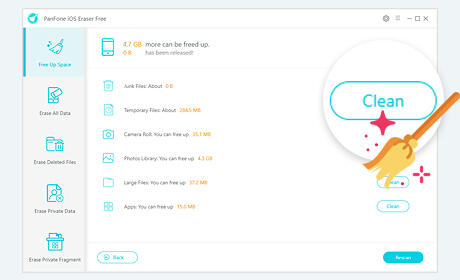
If you struggle with the almost full storage, wasting too much of your time, you should check your storage details on your iPhone. You may know that, even though you have manually removed the unnecessary files on your iPhone, while no more space is release at all. The phone's used capacity is still displayed as the same number, as if the files you deleted still occupy your device space. So, is the deleted data completely removed? For the sake of 100% safety, you need to scan you iPhone and erase them in necessary. This tutorial would show you how to erase deleted files on you iPhone. (Supports all iPhones, iPads and iPod 1-6 generations)
Step 1: Download the PanFone iOS Eraser on your computer and connect iPhone to your PC. Please pause your iTunes in no case of data overwritten during the progress.
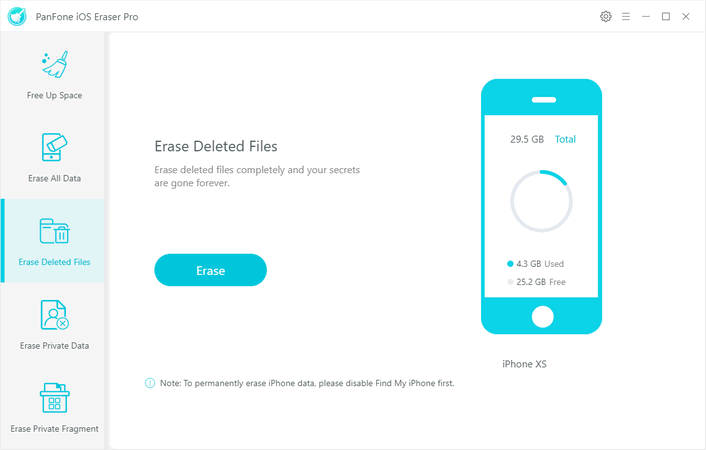
Step 2: Come to Erase Deleted Files mode and quickly scan your iPhone by clicking on Erase button to detect the deleted files records. After the scanning, PanFone successfully downloaded the deleted files existing on your iPhone. And warm tip shows how much internal storage is possible to free up after erasing these files.

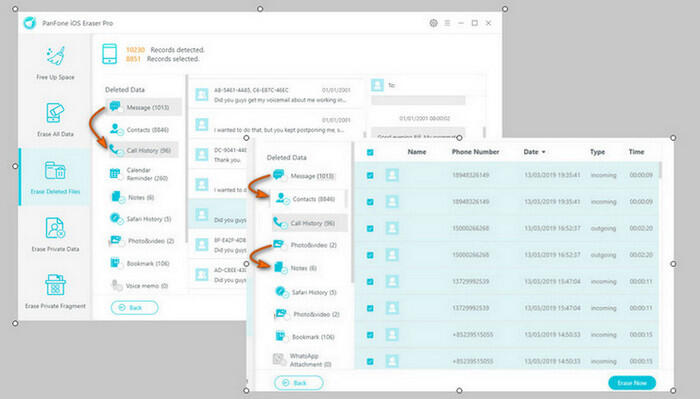
Step 3: Start to 100% clear out the deleted files. You could now clearly look into the specific contents. Among them, individually kick off the tab and click on key button 'Erase now' to proceed.
Messages: You could preview the information from sender or recipient. Group conversation with the messagers would be erased.
Contacts: The complete deletion of the contact is to avoid data overwritten when you add new contacts on your iPhone.
Calendar Reminder: This is easily overlooked. You may record your schedule on this app. It means that some of your privacy could not fully protected even though you kick on deletion on your iPhone. By on PanFone, you could complete remove these important deleted files, which protects your data as well as helps release more available space.

Notes: By totally kicking them off, you can have a large space to free up. It helps speed up your work on iPhone.
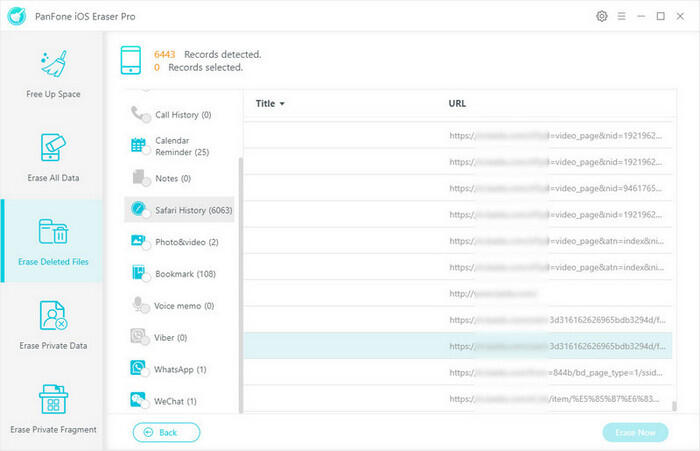
Safari History: You may often use search engines to answer questions. As the default search portal for Apple phones, safiri also saves some of your search history and cached data. In this market full of data recovery, people can easily reply and find your data. In order to avoid being replied, panfone is a one-click sweep of all records and cached data.
Bookmark: A thorough clean of the bookmark on your iPhone browser.

Step 4: PanFone has a setting that lets users to choose a security level depending on the degree of damage. It sets from Low level to permanently delete your data, Medium level to make no chance to recover the erased files, and High Level to damage your confidential data related to financial data on your devices. Here Medium Level is recommended to damage these deleted files. Once erased, the files would go 100% unrecoverable.
Conclusion: PanFone iOS Eraser has prevented these deleted files from recovering to devices. In a degree, no others can invade into your privacy. So, for the storage usage or your data security, Why not have one PanFone first? With the help of PanFone iOS Eraser Pro, your iPhone will keep in a good memory space.
Supported OS: iOS 5 - iOS 13


Comments
Post a Comment