How to Clear 3-Party Application Cache on iPhone
- Get link
- X
- Other Apps
Have someone told you that you can do a factory reset on your iPhone to make everything back to the original state. While they may not tell you that such method is the last choice to do that. If there has any other perfect way to erase the useless data on their iPhone, they would not advise you doing in this way. Factory Reset is actually a blessing in disguise that you failed to retrieve all the data set by your habit, for you have gained a refresh storage from the iPhone. Absolutely, we don’t have to do make such a final way if you can do by other method. Good luck to you if you have learnt to clear out your iPhone private information before you sell it . More attention should be paid is that private fragment, especially those 3-party applications, installed in your iPhone. Those data and files can be easily invaded as long as someone have your account and password. So for today’s topic, I am going to share with you the tutorial to correctly delete the information on your 3-party applications.
 Clear 3-Party Application Cache on iPhone
Positioned as a program for iOS devices storage management, Panfone iOS Data Eraser helps to clear out all potential threats to the iOS devices storage. It will help to erase the junk and temp files, clear out the private files, totally remove the deleted files on your iOS devices. By this way, you will be able to free up more space. It can in a degree to secure the data privacy.
PanFone iOS Data Eraser supports to erase messages, contacts, call history, photos & video, browsing data and more with 0% recovery and 100% wipes 3rd-party apps. With PanFone you can protect your private data by:
- Permanently Erasing All of Your Private Data
- Permanently Erasing even All of Your Deleted Files
- Erasing All Data at One Time
- Erasing Private Fragments from 3rd-party Apps
Step 1
Completely have the up-to-date PanFone iOS Eraser on your computer. If you have been a regular user of PanFone, you can check the latest version by launching PanFone when a prompt of version update pops up and you just follow the tips to upgrade it.
Step 2
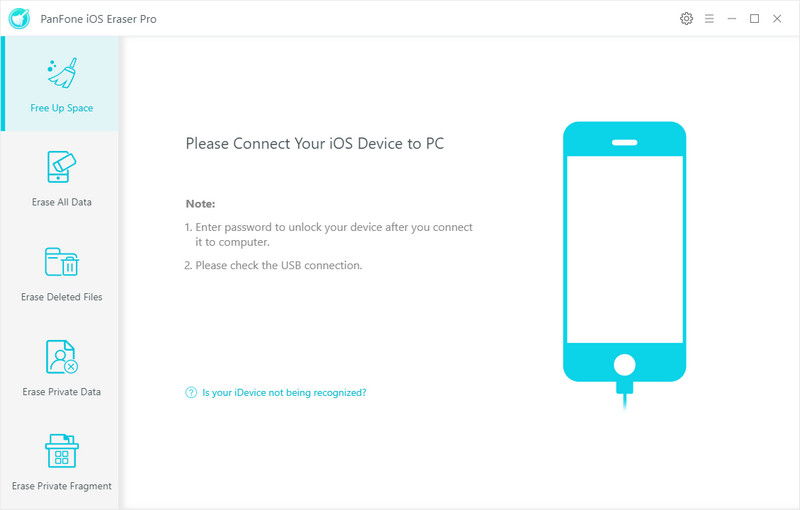
Launch PanFone iOS Eraser and connect your iPhone to PanFone by USB cable when you are supposed to close iTunes if you have iTunes working at the same time. This is to avoid the data overwritten. And too many programs run simultaneously would slow down the progress.

Step 3
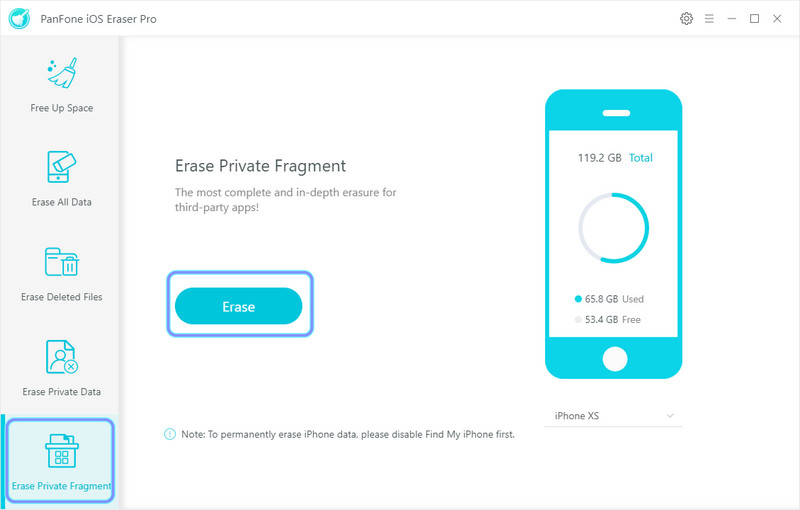
Jump to Erase Private Fragment instead of the initial mode (Free up Space) when you launch the program. Every step to progress the function, we would first to initiate the mode by clicking on the key button Erase. Attention! Because we are going to read the data on your iPhone, please exit the application on the side of your iPhone. In this passage, we had closed the 3-party Apps on the mobile before connecting the device to the program.

Step 4
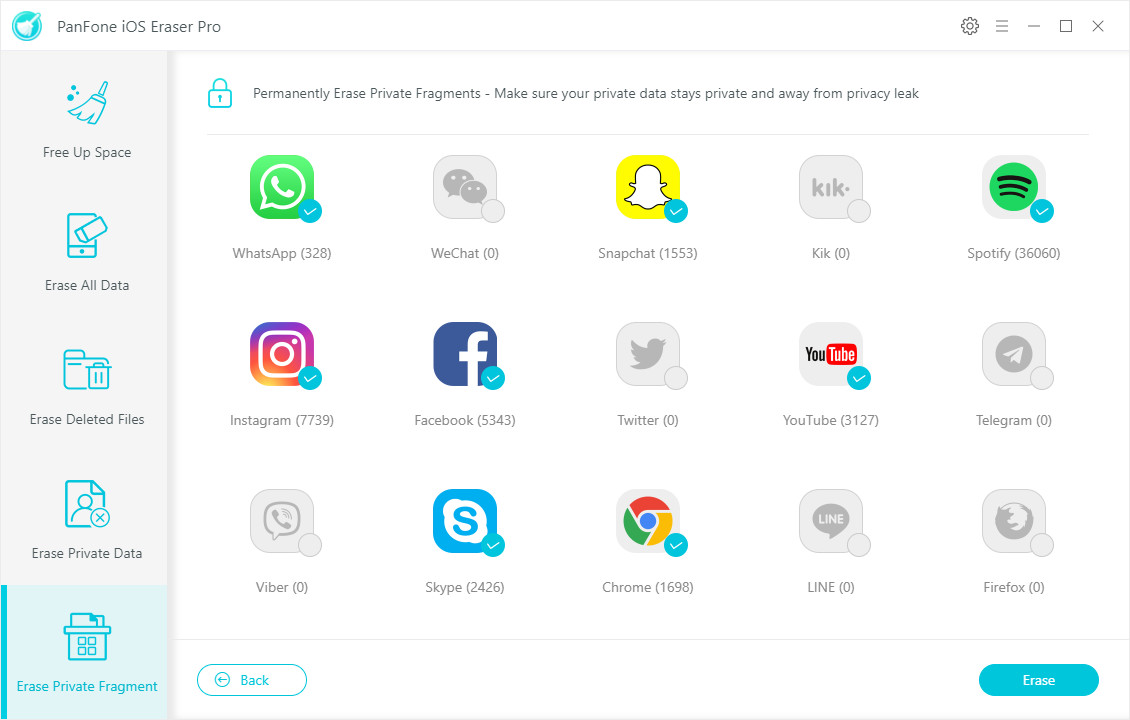
Time taking to fetch and load the data on your iPhone depends on the size of the files actually, so you would be patient during this progress. Once done, the icons of the applications shines and PanFone has smoothly loaded the information on the program. While those didn’t shine, it means that no data is detected by PanFone. Another reason is that the authorization to visit and read the application data is limited by the developer of the App.

Step 5
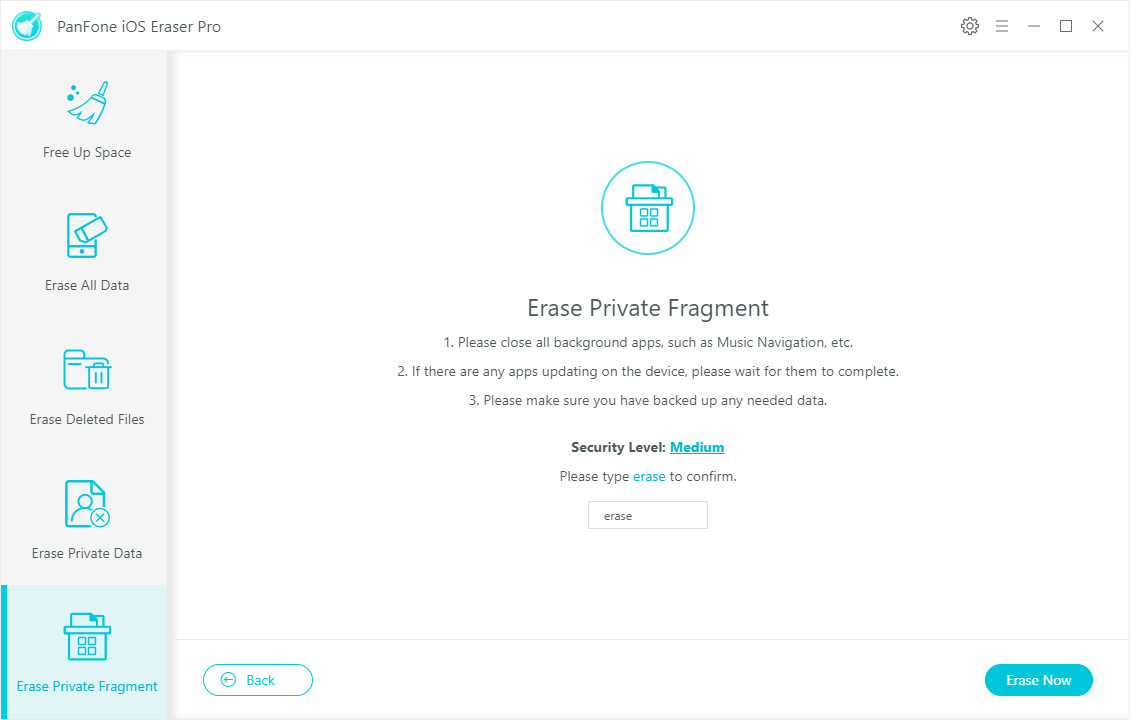
Click on the lighted images, then tag on button Erase now to kick them off. Before the progress commences, PanFone would again confirm your choice to delete them totally so that you would need to type a word 'erase' to confirm your choice. PanFone is designed to 100% kick off the useless data without chance to recover, thus this confirmation much suits for privacy-sensitive people.

Last but not least, PanFone iOS Eraser makes it easier to clear out all the data in iPhone, just move the Erase All Data mode to do this factory reset. And other modes listed for user to selectively remove the data on their devices. Meanwhile, this well-organized design does help to avoid a big hit on iPhone data loss.
- Get link
- X
- Other Apps
Comments
Post a Comment